

Learn how to create an Awesome 3D Text Effect in Illustrator and Photoshop
In this tutorial you will learn how to create 3D text with lighting effects. We'll useIllustrator to add the 3D effect and everything else will be done in Photoshop.
So let’s see what we need for this. We need a nice star brush set. Once we have that we can
start out tutorial.
Let’s have a look at our final result:-

Step 1:-Open your illustrator and create a new file with 600px width and 400px height.

Step 2:- Now we’ll create the 3D text, make sure you create one letter at a time.
So select the “Type Tool”. And type “E”.

Step 3:- Now click on Effects>3D>Extrude & Bevel and keep the setting
same as shown in the image.

Step 4:- Simply repeat the same process, until you have complete “Entheos”.

Step 5:- Now open your Photoshop and create a new file with 700px width and 550px height.

Step 6:- Select the “Paint bucket Tool” and fill the background with # 000000.
Step 7:- Now copy the text from illustrator and paste it to our Photoshop.
Make sure you paste it as “Pixels”.

Step 8:- Now the fun part begins, as we decorate our text. First, we’ll create a new layer.
For this, click on Layer> New> Layer, and then select the “Pen Tool”.
And create a path along our “E”. But make sure you select the front part only.
Then right click on the path and select “Make selection”.

Step 9:- It’s time to use some gradient. So click on
layer> Layer style> Gradient Overlay, and add a purple gradient to our “E”.

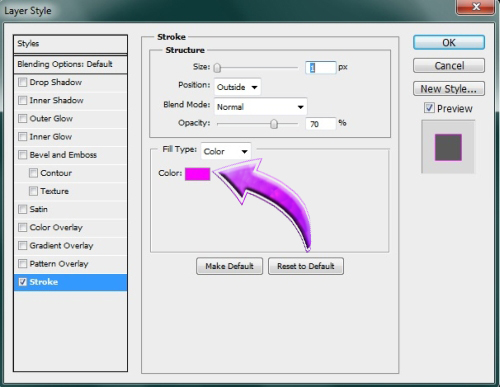
Step 10:- Now click on Layer> Layer style> stroke, and add 1px stoke with # fc00ff.
Step 11:- Once again create a new layer and select the “Pen Tool” and create a
path along the remaining “E”. Then right click on the path and select “Make selection”.
Now select the “Paint bucket Tool” and fill the selection with # 3a0231.
Now click on Layer> Layer style> Blending Options, and change
the blending mode to “Overlay”.

Step 12:- Now we’ll repeat the same process and add different color to each letter.

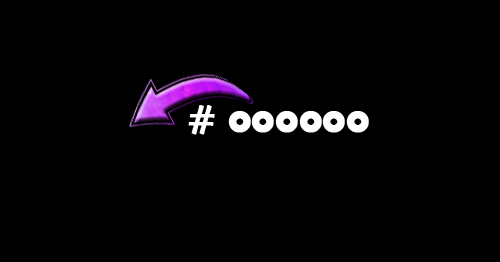
Step 13:- It’s time to add some glitter to our text, so first create a new layer.
Then select the star brush. And use it on our “E” with # ffffff. Change the size
to 2px and 5px.

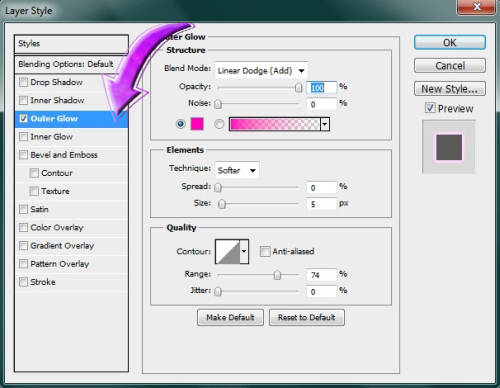
Step 14:- Our stars need some outer glow.
So click on Layer> Layer Style> Outer Glow, and add the outer glow
with # ff00b7 and blending mode should be “Linear color dodge”.
Step 15:- Now simply repeat the same process and add glitter and outer glow to
all of the remaining letters.

Step 16:- Create a new layer and place it under our Text layer. Then select the
“Hard round brush” and use it randomly on our background with color # ffffff,
and # 896335. Now reduce the opacity to 30%.

Step 17:- Now click on Filter> Render> Lens flare and add lens flare in the middle.

Step 18:- First change the foreground color to # ffffff and select
“Hard round brush” with 2px size. Now select the “Pen Tool” and create a
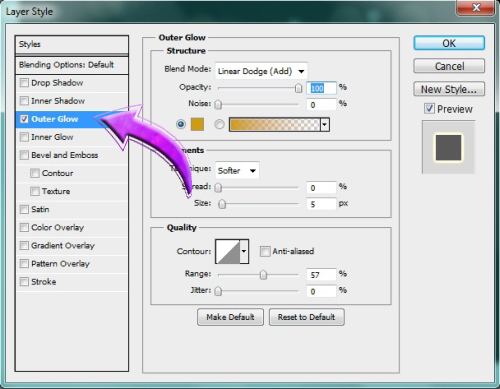
half loop around our text. Then right click on the path and select “Stroke Path”.
Then click on Layer> Layer Style> Outer glow, and add outer glow with # cf9b10.
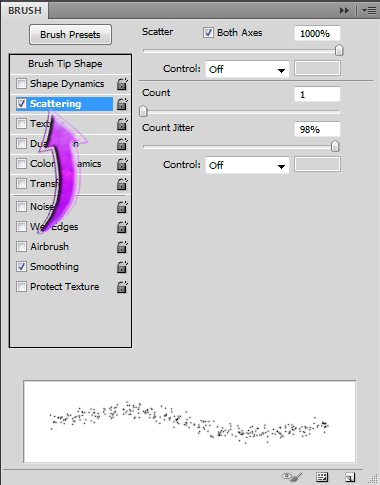
Step 19:- Now open the Brush panel and click on “Scattering”.
Then use the brush along the half loop created about.
Step 20:- Simply repeat the same process and get three half loops covering the text.
Then add some small stars around these. And now we are done.
Our 3D Text is ready. I hope you guys enjoyed this tutorial andlearned something new. Do try and share your result. We’ll be back with some
new tutorials, till then take care and keep designing!
 semoga bermanfaat ... master,
 capcuuuussssss ....
Tidak ada komentar:
Posting Komentar